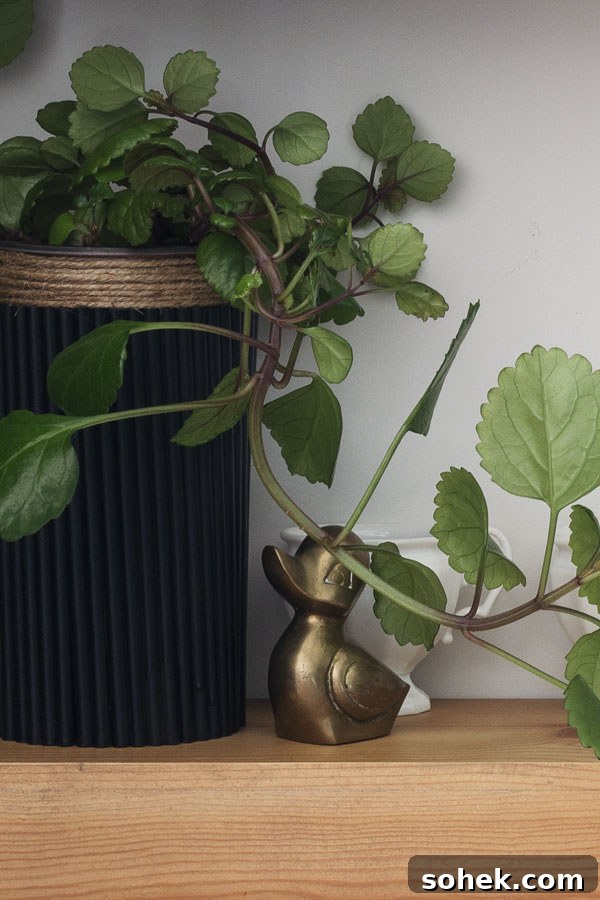
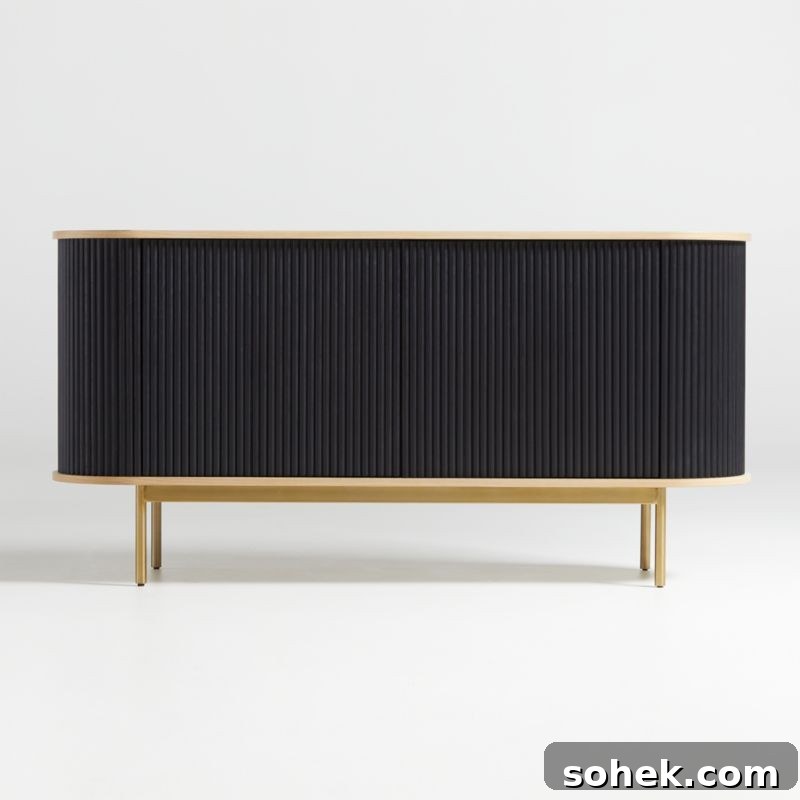
I’m loving the fluted wood look that’s become so popular in home decor. Similar to the wood slat trend, fluted wood features soft, rounded sticks placed edge to edge to create a ribbed, tactile surface—think of a sleek console covered in narrow, parallel wood slats.
Trends come and go, so if you want the texture without committing to large furniture pieces, try adding it in small, inexpensive doses. I enjoy upcycling, so I made a quick and easy DIY project to bring that ribbed wood feel into my home using a gelato cup and simple wooden dowels.
In this project you’ll learn how to make a fluted wood planter by attaching wooden dowels to a plastic container and finishing it with spray paint and a jute rim. It’s a budget-friendly way to test the trend and repurpose containers you already have.
This fluted planter is a fun, low-commitment way to try the ribbed wood aesthetic. It takes about 20 minutes of hands-on time and costs only a few dollars in basic supplies.
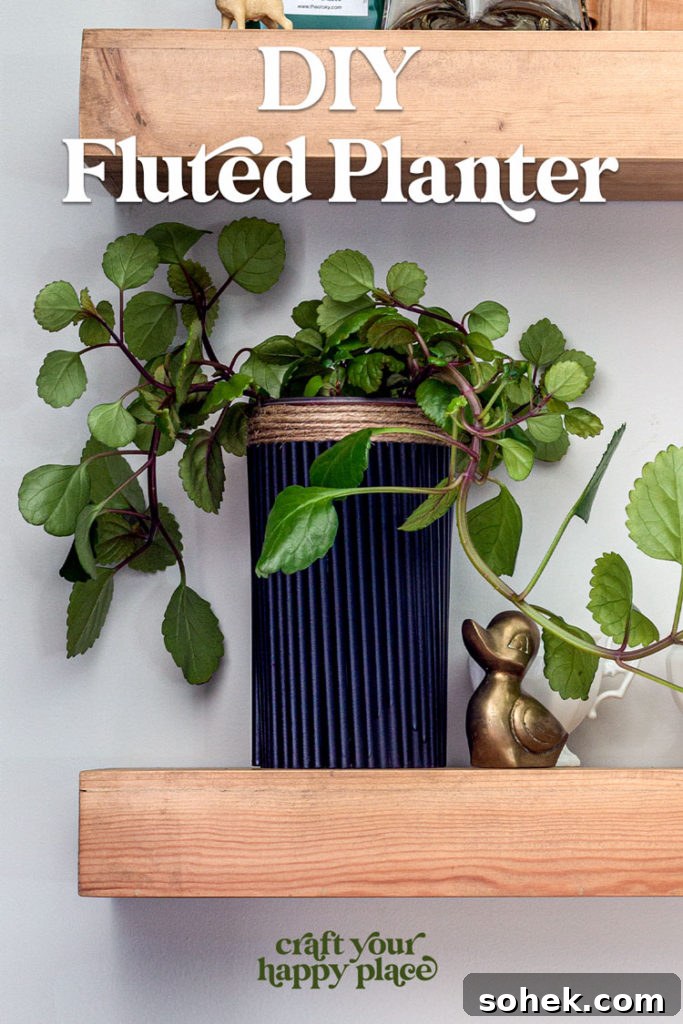
How to Make a Fluted Wood Planter
The basic idea: glue wooden craft dowels to a round plastic container, spray paint the whole piece, and finish the rim with jute twine. This method works well with repurposed screw-top food tubs—gelato containers are perfect because they’re round with straight sides.
MATERIALS NEEDED
- Clean, round plastic container with straight sides (gelato or similar)
- 6″ wooden craft dowels
- Hot glue gun and glue sticks
- Spray paint suitable for wood and plastic
- Jute twine
Step 1: Find a round plastic container

Choose a round plastic container with straight sides. These tubs are often used for gelato, dips, and other foods. You can upcycle what you already have or buy new tubs if you prefer. Straight, vertical sides make it easy to align the dowels and achieve a neat ribbed effect.
Step 2: Glue dowels to the container
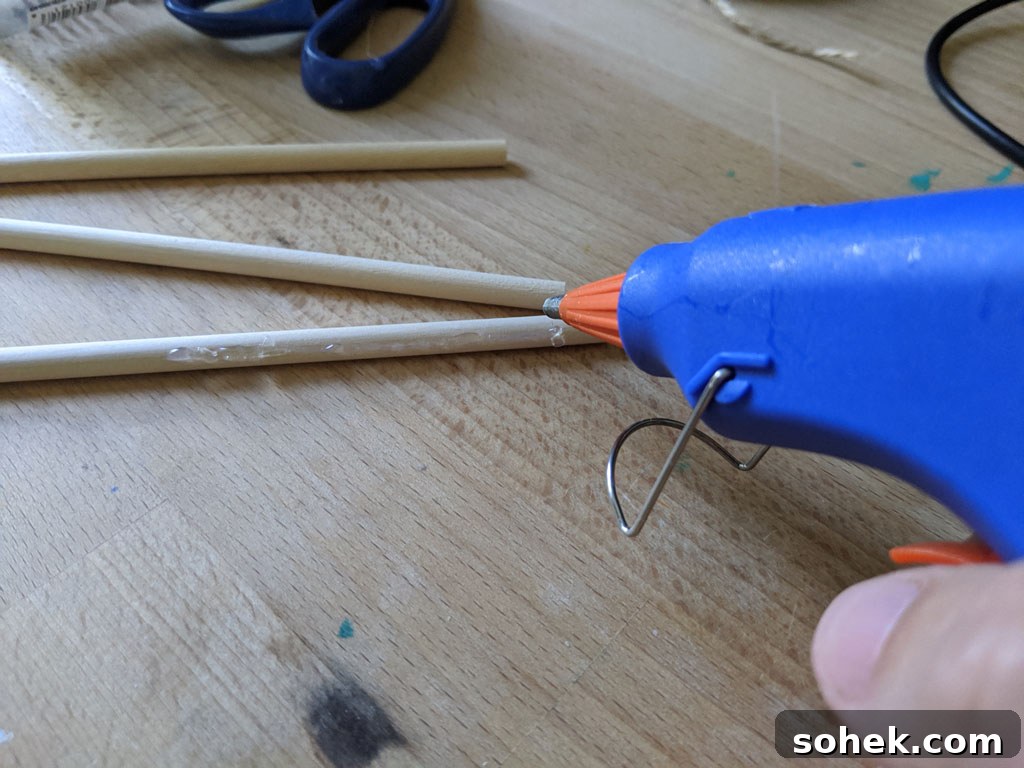
Attach dowels by applying hot glue either to the dowel or to the container, then press the dowel in place with its flat end against the underside of the screw-top lip.
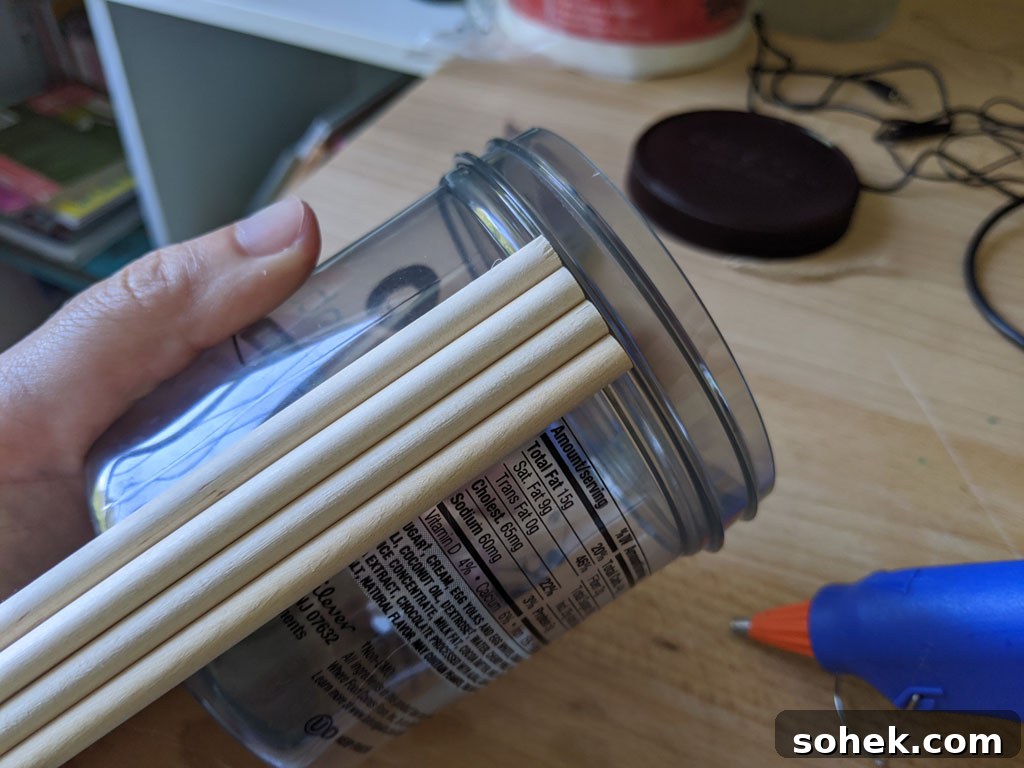
Make sure each dowel is parallel to the last. If they shift, you can remove the dowels from the point where misalignment began and reapply them correctly. Small glue blobs can push dowels off course, so work carefully and check alignment as you go.
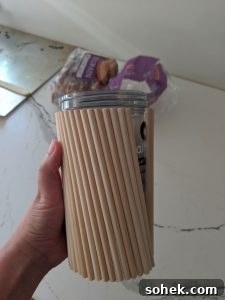
If you do end up spiraling outward, don’t worry—it’s fixable. Remove and reattach the affected dowels, smoothing out the line so everything reads straight and uniform.
Step 3: Spray paint your planter
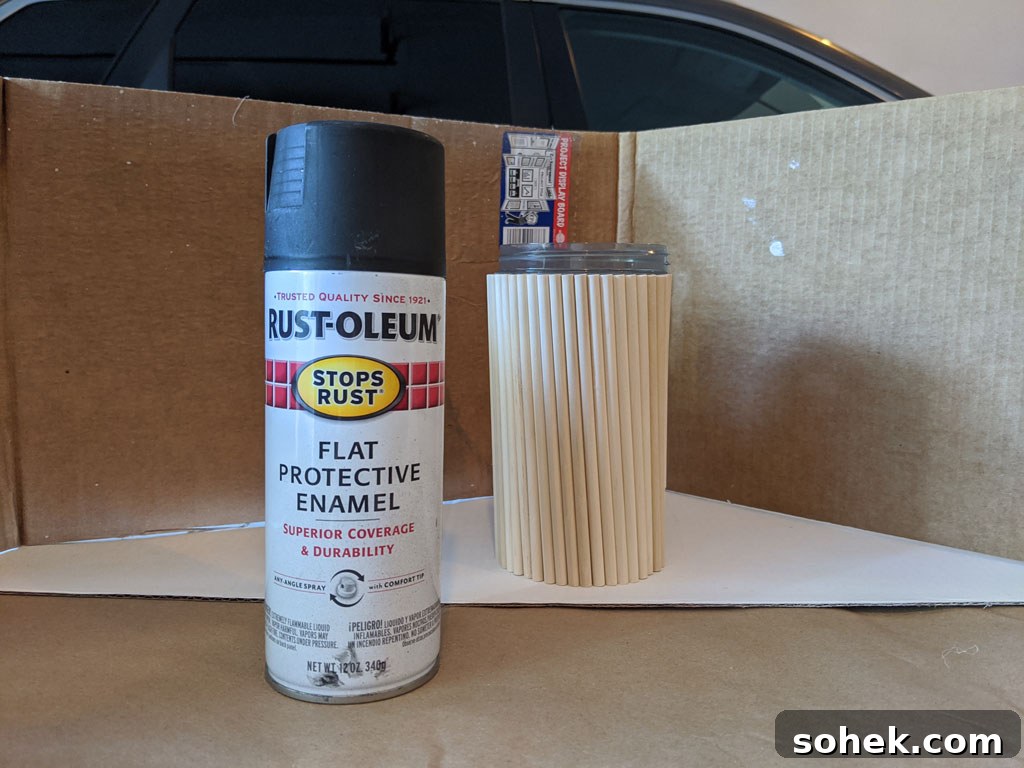
Once all dowels are secure, spray paint the entire planter—inside and out—for a seamless finish. Apply two thin coats rather than one heavy coat to avoid drips and get even coverage over both plastic and wood. Choose any color you love: black gives a modern look, while bright hues or soft pastels can make a bold or gentle statement.
Step 4: Wrap jute twine around the top
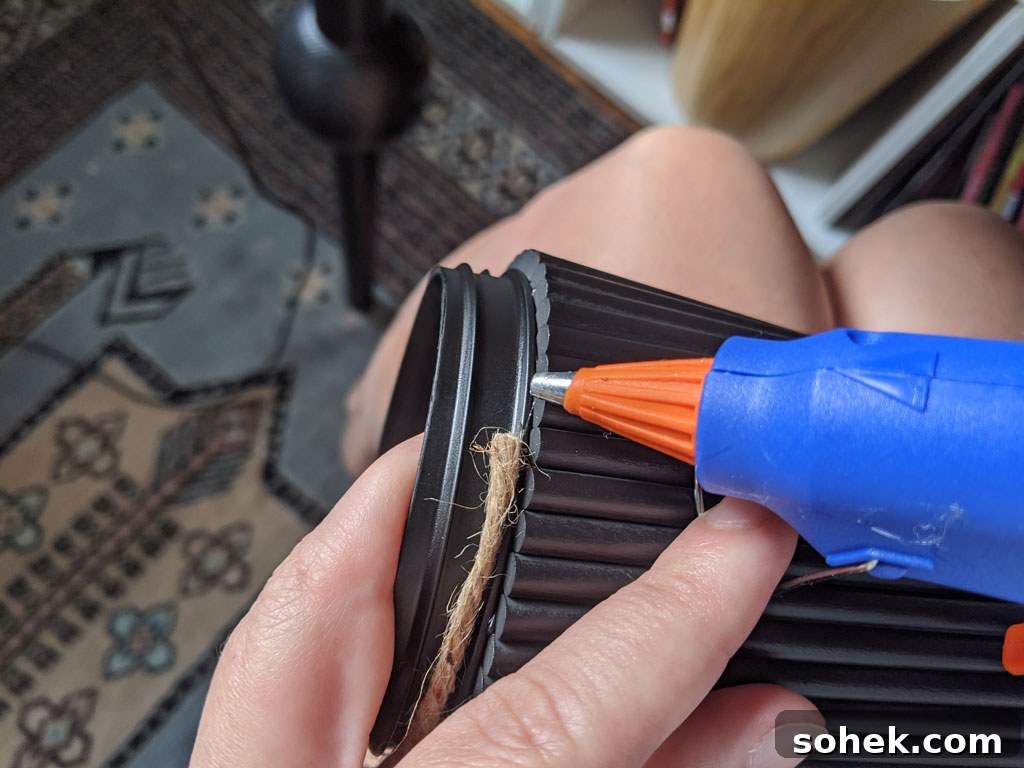
To hide the screw-top grooves, wrap jute twine around the top edge. Secure the twine’s starting point with a small dot of hot glue at the bottom ridge of the area you’re covering. Wrap tightly and use minimal glue as you go—the twine’s tension will hold most of it in place.
Tip: choose a “back” side for your planter and hide the beginning and end of the twine there for a cleaner look.
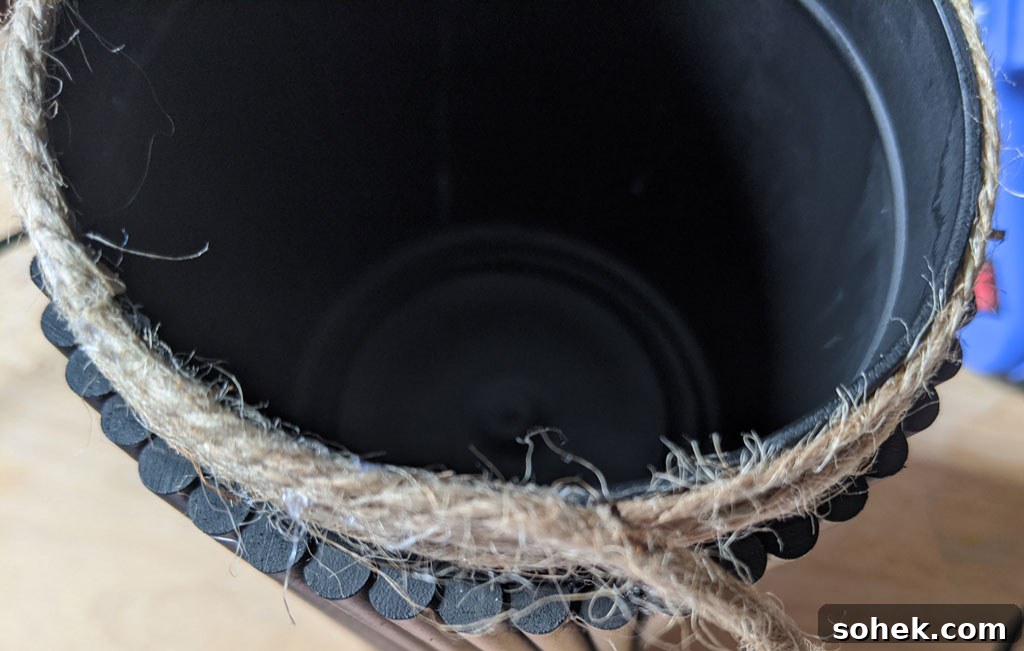
For the very top edge, apply glue as you wrap to fully conceal the rim. Go slowly and use small amounts of glue so the finish stays neat. Build up several layers of twine to create a thicker, integrated rim that meets the dowel tops on a level plane.
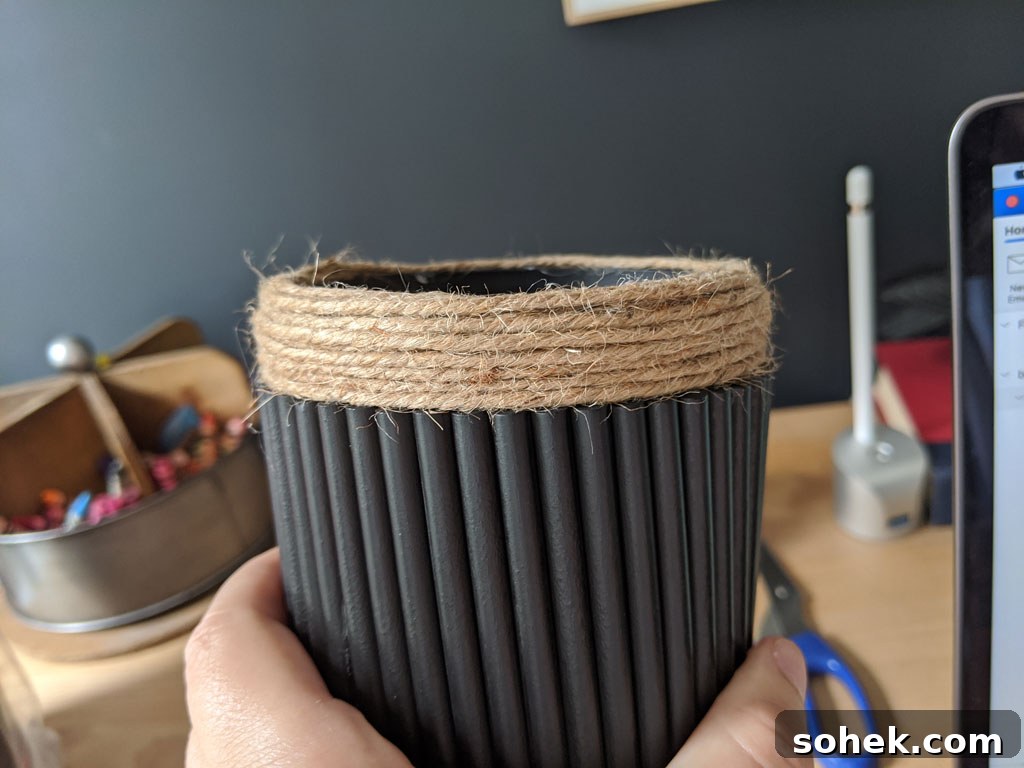
Three wraps were enough for my twine to reach the desired thickness, but you can add more or fewer depending on how chunky your twine is and the look you want.
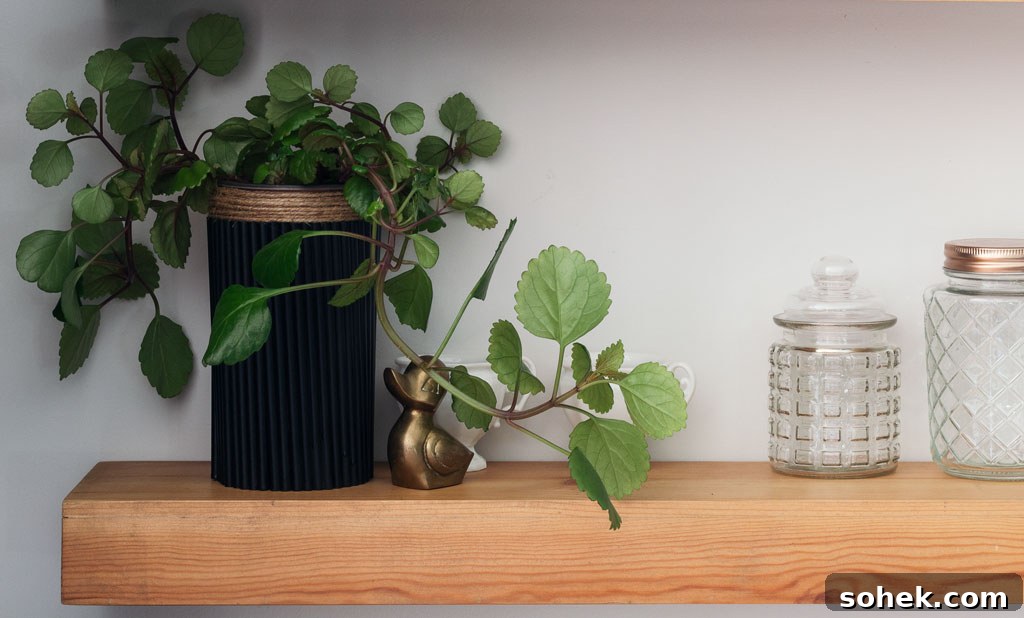
And you’re done!
This simple upcycle creates a stylish fluted planter that looks more expensive than it is. To use it, place a nursery pot inside the finished planter so you can water plants without worrying about the container’s integrity.
Next time you finish a pint of gelato, save the tub and try this chic DIY. It’s a quick way to test the ribbed wood trend and add an on-trend accent to your space.