What Rice Does Instead of Egg
The secret is one word: starch. When rice simmers for a long time in hot milk, the grains swell and release amylose, which thickens the liquid. This gelatinization gives body to the base in the same way an egg yolk does in a classic ice cream. Rice thus acts as a natural binder, eliminating the need for eggs entirely.
This technique is well known in Italy. Sicilian gelato can do without eggs by using cornstarch, while Florentine gelato di riso relies on Arborio rice. By capturing free water, that starch also helps limit the formation of large ice crystals, which explains the smoother mouthfeel.
The remaining creaminess comes from whole cream at 30% fat, which brings a rich, velvety sensation. Sugar lowers the freezing point, so the ice cream never freezes into a rock-hard block. I didn’t invent this—rice-based frozen desserts have long existed, cousins to Italian gelato di riso and the Indian kulfi.
Ingredients for Rice Ice Cream
- 120 g round-grain rice
- 1 L whole milk
- 120 g light brown sugar
- 2 vanilla pods (or 2 tsp natural extract)
- 1 pinch of salt
- 250 ml heavy cream (minimum 30% fat)
Steps: From Rice Pudding to Ice Cream
- Start with a quick rinse of the round rice under cold water to remove surface starch.
- In a large saucepan, combine the drained rice, milk, sugar and salt. Split the vanilla pods lengthwise, scrape out the seeds with a knife and add both seeds and pods to the milk.
- Cook over very low heat, just below a simmer, letting the rice soften for 35–40 minutes. Stir occasionally until the mixture becomes thick and creamy.
- Off the heat, remove the vanilla pods and let the mixture cool slightly. Add the well-chilled cream and blend thoroughly with an immersion blender until there are no grains left under the blade.
- Cover and chill the base in the refrigerator for at least two hours.
- If you have an ice cream maker, churn the mixture until it reaches a soft, scoopable consistency. If you don’t, spread the base in a wide, shallow dish and break it up with a fork every 30 minutes over about three hours to interrupt freezing and reduce crystal formation.
No Ice Cream Maker? The Fork Trick to Prevent Crystals
This is where technique matters most when you don’t have a machine. Put the chilled base into a flat, wide container, which speeds freezing from the edges. Every 30 minutes, remove the container and vigorously break up the frozen layer with a fork, bringing the edges toward the center. Repeat this process for about three hours, roughly five or six times.
It’s all about crystal size. Without periodic stirring, water forms large crystals that make the ice cream crunchy. By breaking the forming ice regularly, you fragment those crystals and incorporate a little air, producing a smoother result. Don’t expect the exact lightness of a churned gelato—homemade texture is honest but slightly denser.
For storage, expect one to two weeks of optimal texture in an airtight container, with plastic wrap pressed onto the surface. After that, freezer taste will develop because this recipe contains no stabilizers. Remember to remove the ice cream a few minutes before serving so it softens.
Variations and Serving Suggestions
The vanilla base is just a starting point. I like to whisk in a teaspoon of matcha for a bitter green variation, or replace part of the milk with a mix of coconut milk and cream. Black sesame, ground into a paste, also makes a surprising, almost grey ice cream with a toasted flavor.
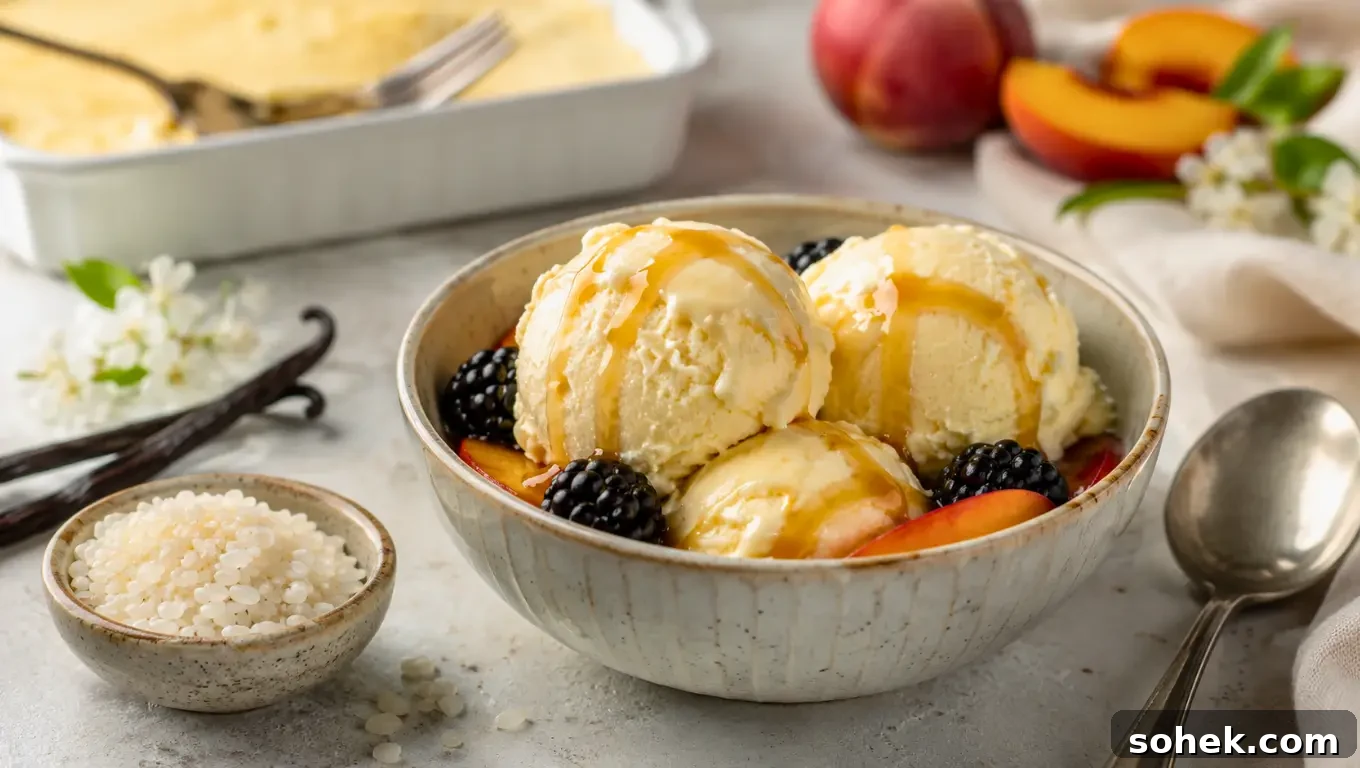
When serving, a drizzle of caramel over a scoop is always a winner. In summer, I prefer pairing it with seasonal fruit: quartered figs, slices of nectarine, or blackberries that burst on the bite. It’s an easy way to enjoy cooling desserts without owning an ice cream machine.